This is the conclusion to my first physical computing journey.
I took three big steps to go from start to finish.
First step was about grasping the meaning of this craft, and exploring the ways in which it can serve
people’s needs. I relied on WGSN pretty heavily during this process. Reading through the trend reports and
various market research, I shaped my vague concept idea into a focused and intentional plan: making a
simple wearable utility device that could potentially replace a smartphone function.
Second step was all about the technical. I asked myself a million questions targeting the fundamentals of
the physical computing. How does electricity work? How do sensors work? How do devices and sensors
communicate? What are the meaningful differences between micro-controllers? What are communication
protocols? I felt that this was the most important step in getting to know discipline —getting the basics
right. At the end of this step, I had a weird prototype in my hands. It didn’t really serve a specific
function, as it was more of a tech demo meant to identify both the limits of the ESP32, and mine.
This is the final step. I focused on turning my janky prototype into something that felt cohesive, and
signaled some kind of use value: a keychain/trinket that allows the user to record a voice memo, and send
it to their server.
END OF SECTION
WEEK 11: Bodystorming
The roleplaying exercise that we did during Week 11 was a valuable experience because it showed me areas
of concern that can only be revealed by acting out a specific scenario.
END OF SECTION
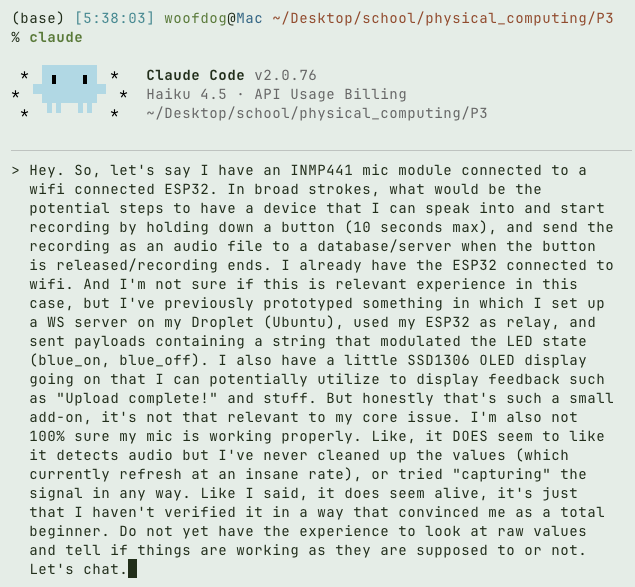
This time around I used Claude Code to plan out my technical process. This may have been overkill, but the
idea of using LLMs to chart detailed plans and process documents really drew me in. It does take a lot of
time to do it appropriately, and there are things to watch out. It is easy to get lost tinkering with your
own project management process and burn through the limited time and money you have. For those reasons I
reserved my interactions with Claude Code to the initial project planning phase (and of course the usual
debugging/tutoring stuff).
LLMs are pretty good at webdev, but the hardware realm is a very different beast. It's hard to let them
loose and expect good returns. In order to increase the debugging capability of Claude Code, I fed my
technical research and the component documentation into the knowledge bank. Even then, the process was
completely hands on. You can see exactly how I went on with the planning phase below.
END OF SECTION
Exploring unknowns:
I have not worked with any kind of audio-based sensor before, let alone an actual mic module
designed to fully capture audio. Going into this, I have no clue how exactly my voice will be
captured and transmitted.
Potential challenges:
I'm not sure how much space my ESP32 can allocate to store the audio recordings. It could be a
challenge to optimize the recording.
Process and outcome:
I started by drawing the diagram of the mic module by following a tutorial video by Owen O'Brien. I
took pictures of the final state of my P2 prototype in case I need to return to it. Then, I wired
the mic using the diagram, and switched to the Claude Code session to learn more about INMP441 and
i2s communication protocol.
After a few hours of research, I started working on the mic module code. I found an INMP441 code
template on Cirkit Designer (article titled "How to Use INMP441: Examples, Pinouts, and Specs") and
adapted it to my context with the assistance of Claude Code. The code finally compiled and ran on
the device. At first, the mic module seemed to be working, but the values seemed a bit weird. This
turned out to be a real problem that was caused by a syntax error in the bit rate declaration. I
fixed it, and started getting a much cleaner signal.
Final task of this action research was transforming the audio signal into an audio file I could
play. To be honest, this was something I relied on Claude Code VERY heavily because it involved
manual memory management, and I'm not capable of that yet. I basically asked Claude Code to create
an HTTP server on the ESP32, transform the signal into a low bitrate audio file, and make it
available on the server.
Lessons learned:
My ESP32 had MUCH less storage capacity than I thought. I learned that I should pay more attention
to the micro-controller specs. Apparently, I read mine really badly.
Next up:
I will have to learn how to solder without frying my components.
END OF SECTION
Tried to scan my ESP32 to create a diagram of it quickly but it didn't work so good.
Taking pictures of the old prototype in case I need to look at it again.
Drawing the INMP441diagram.
Wiring the INMP441 using my diagram as a guide.
Exploring unknowns:
How much heat can components take before they are fried? How will I record audio and access it as an
audio file?
Potential challenges:
I do not know how to solder so I'm a bit nervous about frying components. Also, I've never designed
a housing with wires in mind before.
Process and outcome:
I started this step testing out the button and learning how it's wired. It was very straigtforward.
I didn't need to use the spare leg of the button, 2 was enough to make it function.
After testing the button, I started prototyping a placement slot for it. Made a few different
prototypes before settling on the final button slot.
Then, I tried to solder something to the leg of a spare ESP32 in order to practice for the final
prototype.
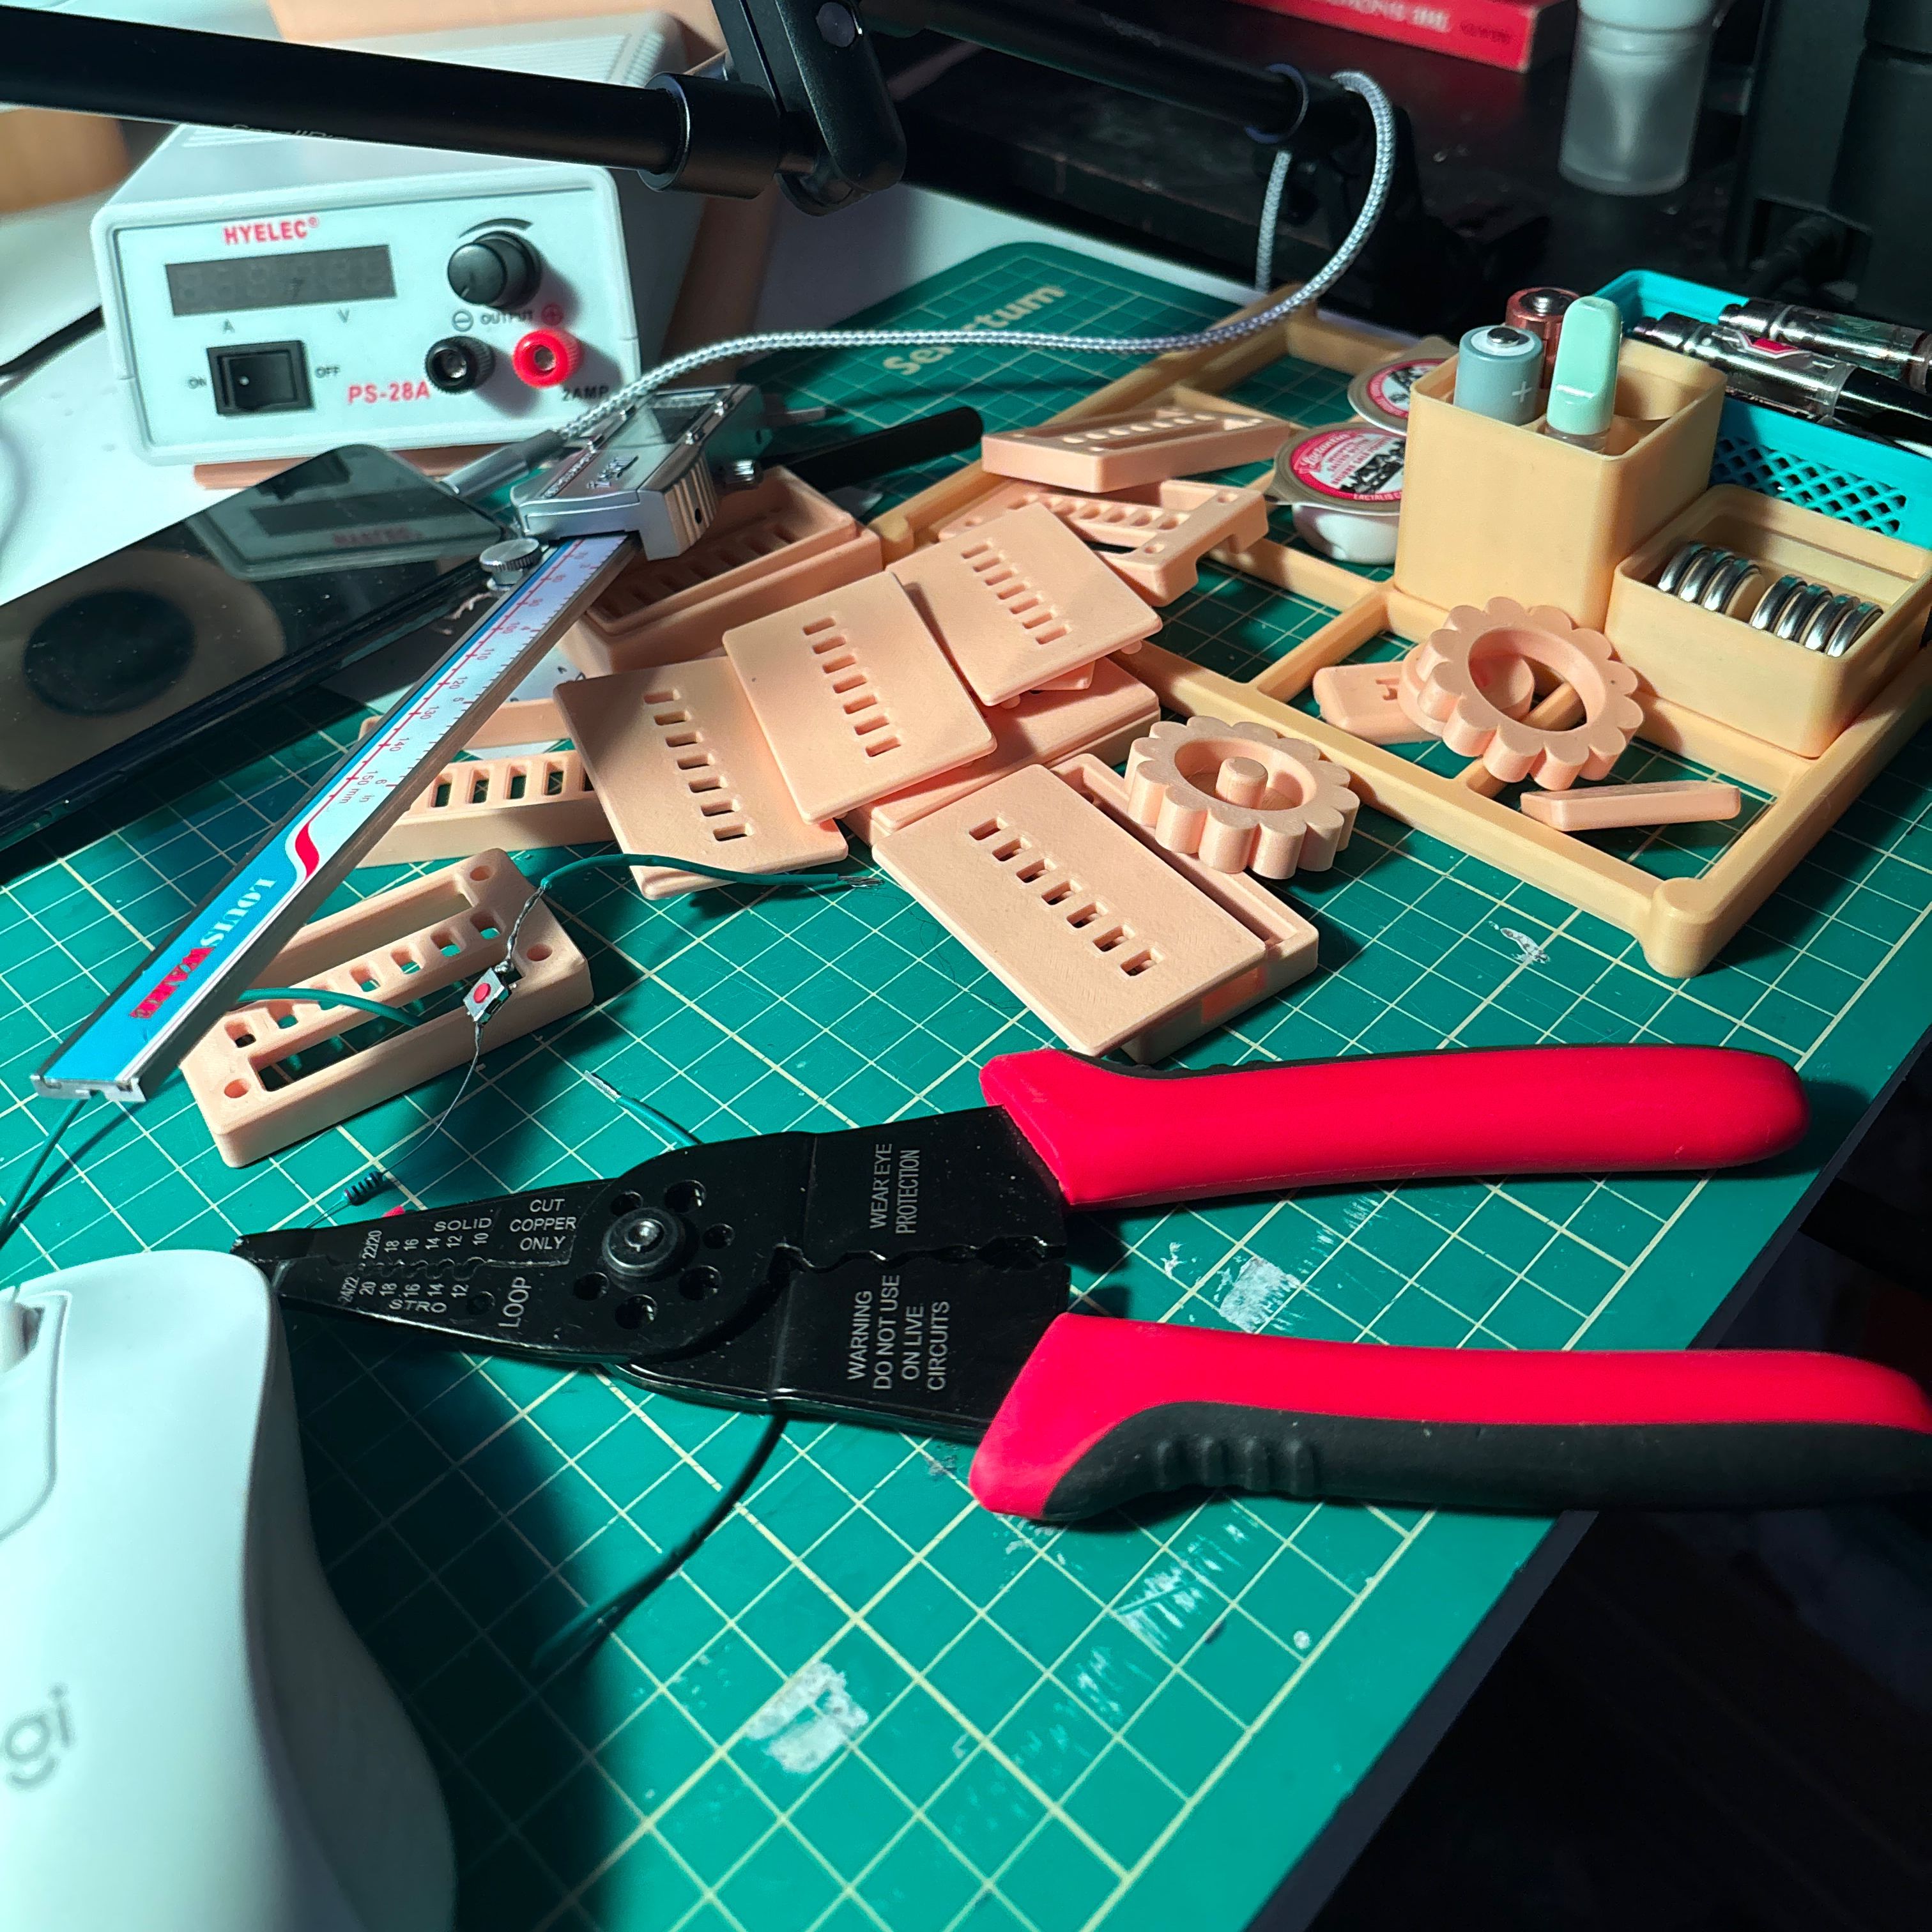
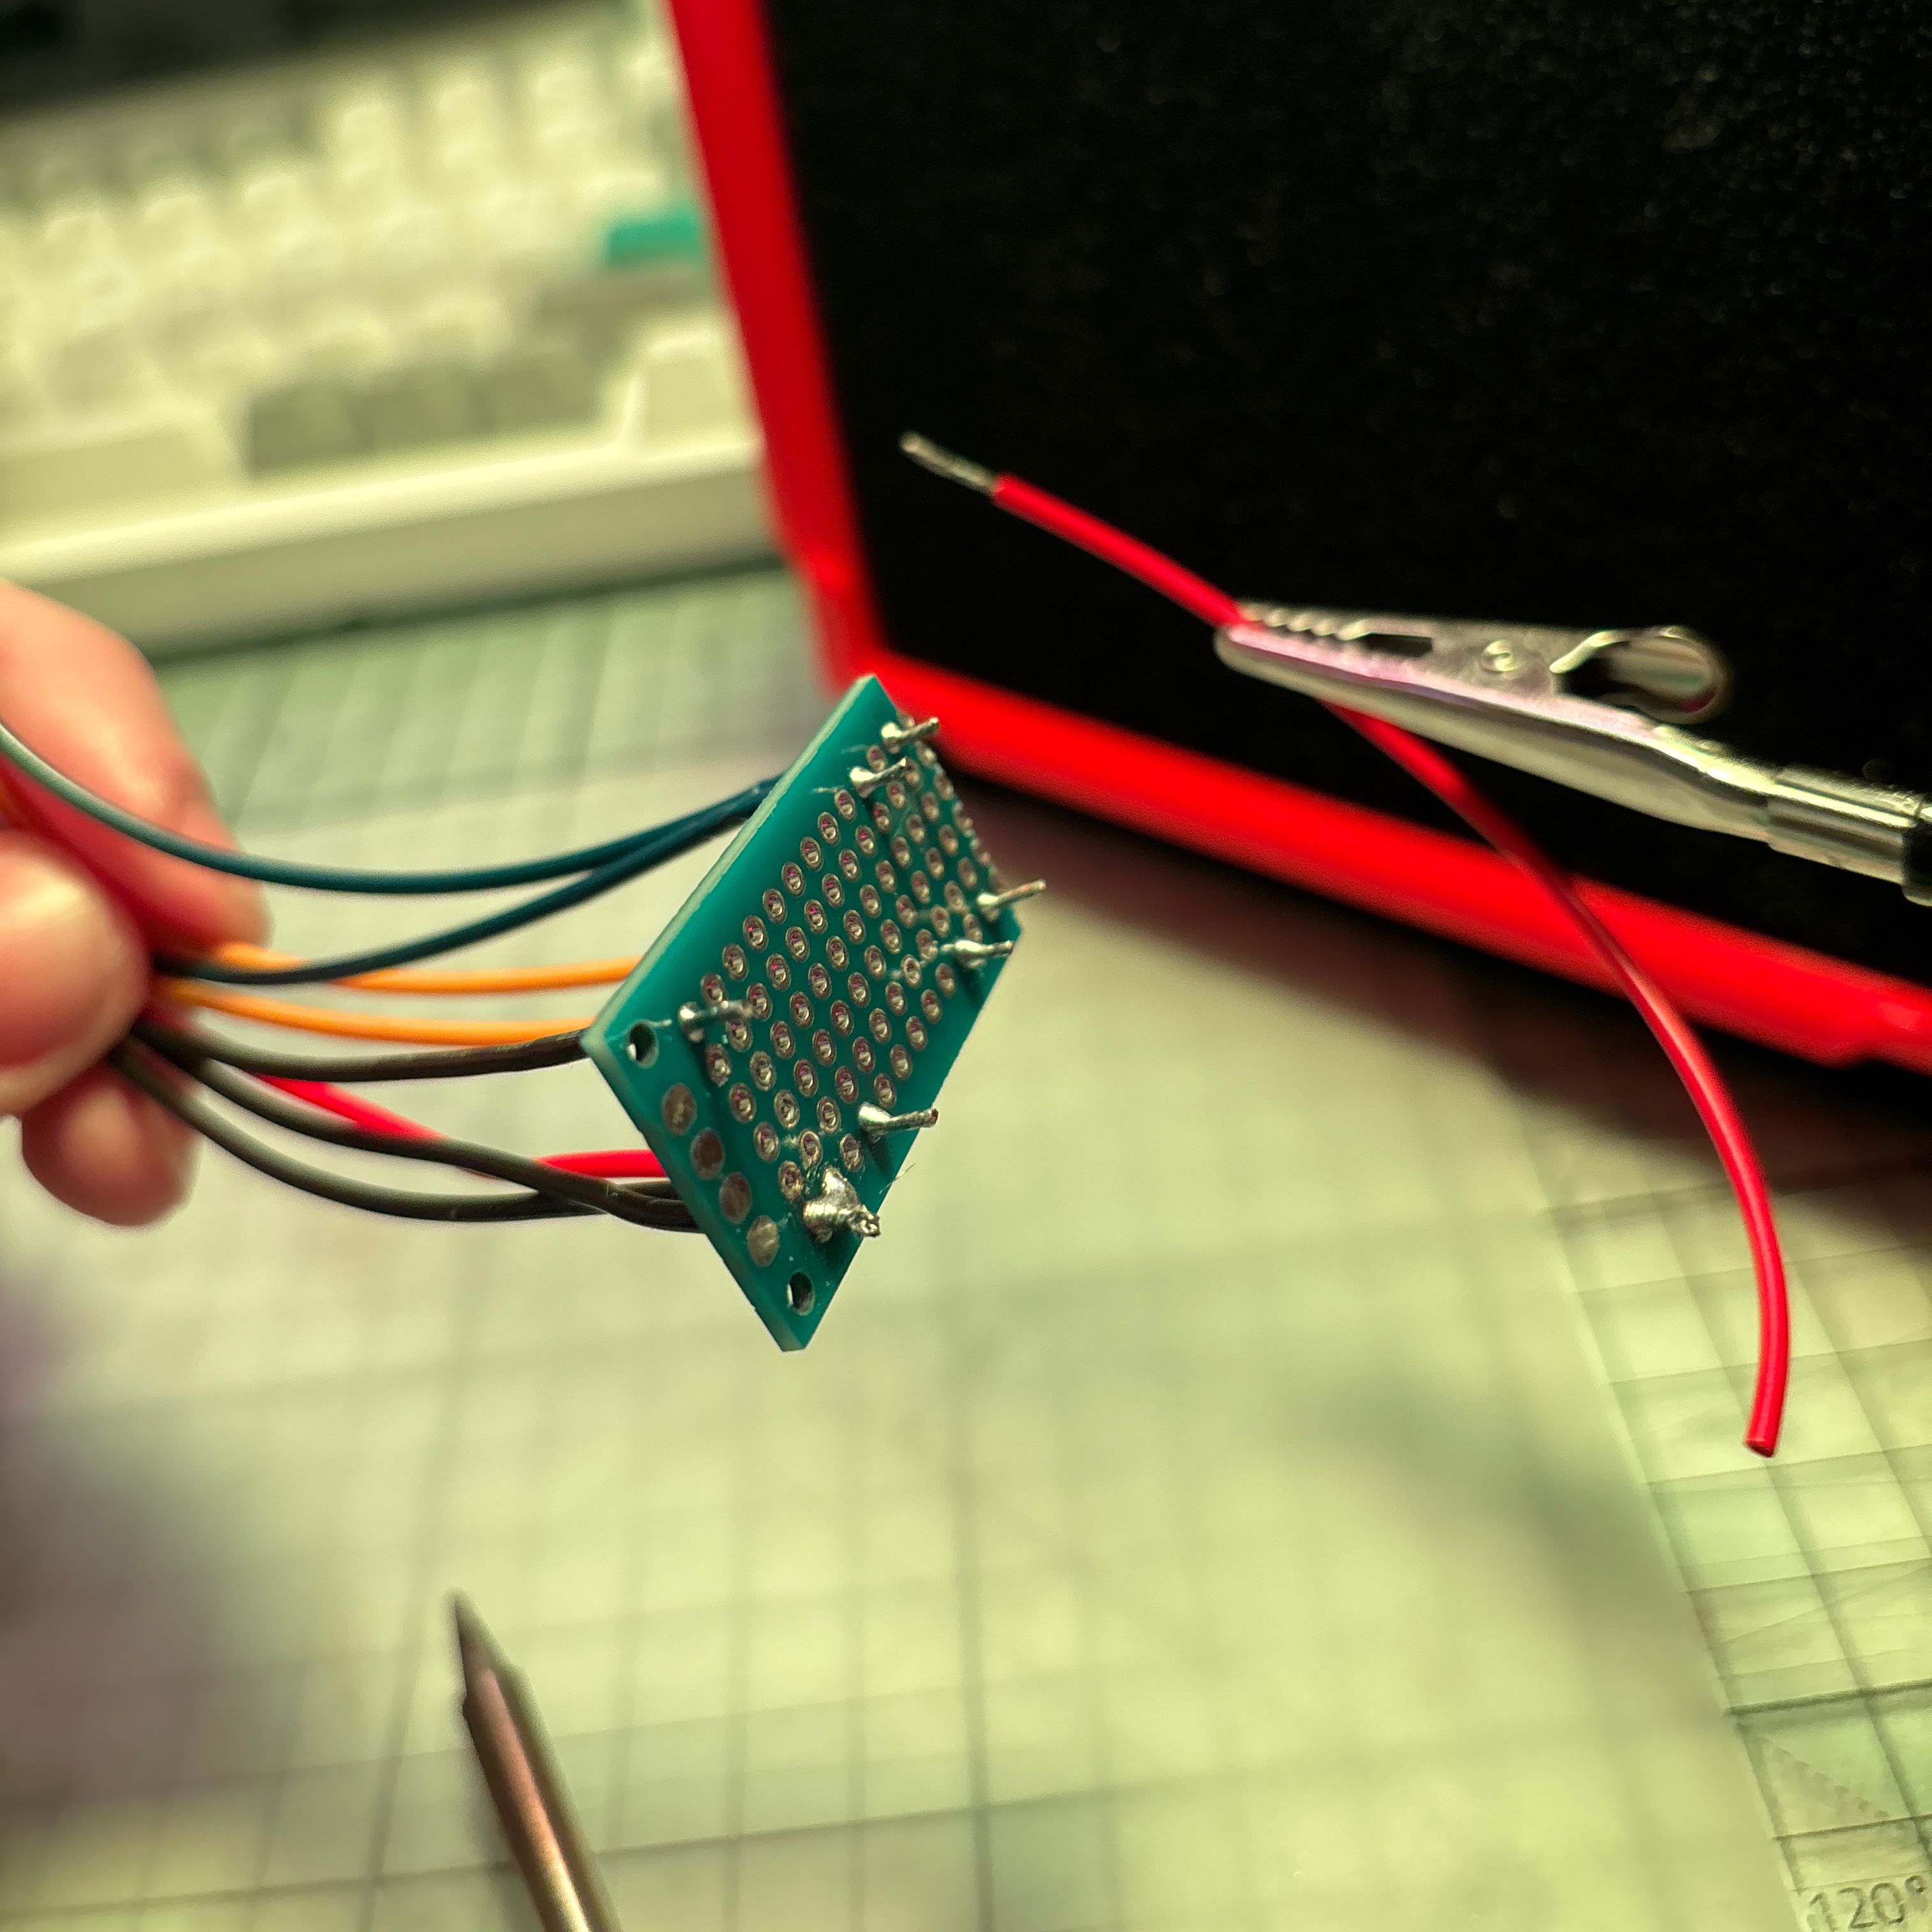
I prototyped 10+ housing designs for the final device to fit in. I settled on a 3-part case with 4mm
holes on each corner for heat-set inserts. In order to put wires into something like this, I cut a
perfboard into small pieces and soldered wires on it with the intention of connecting them to the
ESP.
Lessons learned:
It is NOT easy to wire a device that's supposed to sit inside a housing. It takes incredibly
careful and intentional planning and design, as well as a lot of time and patience.
USE ROSIN FLUX WHEN SOLDERING! Be careful about the amount, though. You only need a tiny bit.
Next up:
Sleep.
END OF SECTION
Soldering the button leg in a horriffic way. I'm sorry I'm just learning...
My rosin flux was completely dry, so I hydrated it with alcohol.
This documentation pissed me off so much. It was SO messy it was impossible to find the specific
info I was looking for. So I fed the entire thing to the LLM and asked it instead.
Where I've ended up
After 3 projects, here's what I have:
An ESP32 device that records a 10 second voice memo when the user presses the button, while giving
feedback via the small display module. The device and housing aren't fully assembled due to lack of time
(poor time management on my part). However, all of the parts are tested and working, and the housing
doesn't have any fatal flaws. I put ventilation slots to prevent the device from potentially
overheating. I also didn't have time to set up the automatic device to server audio transfer pipeline,
but I researched it and more or less how to do it.
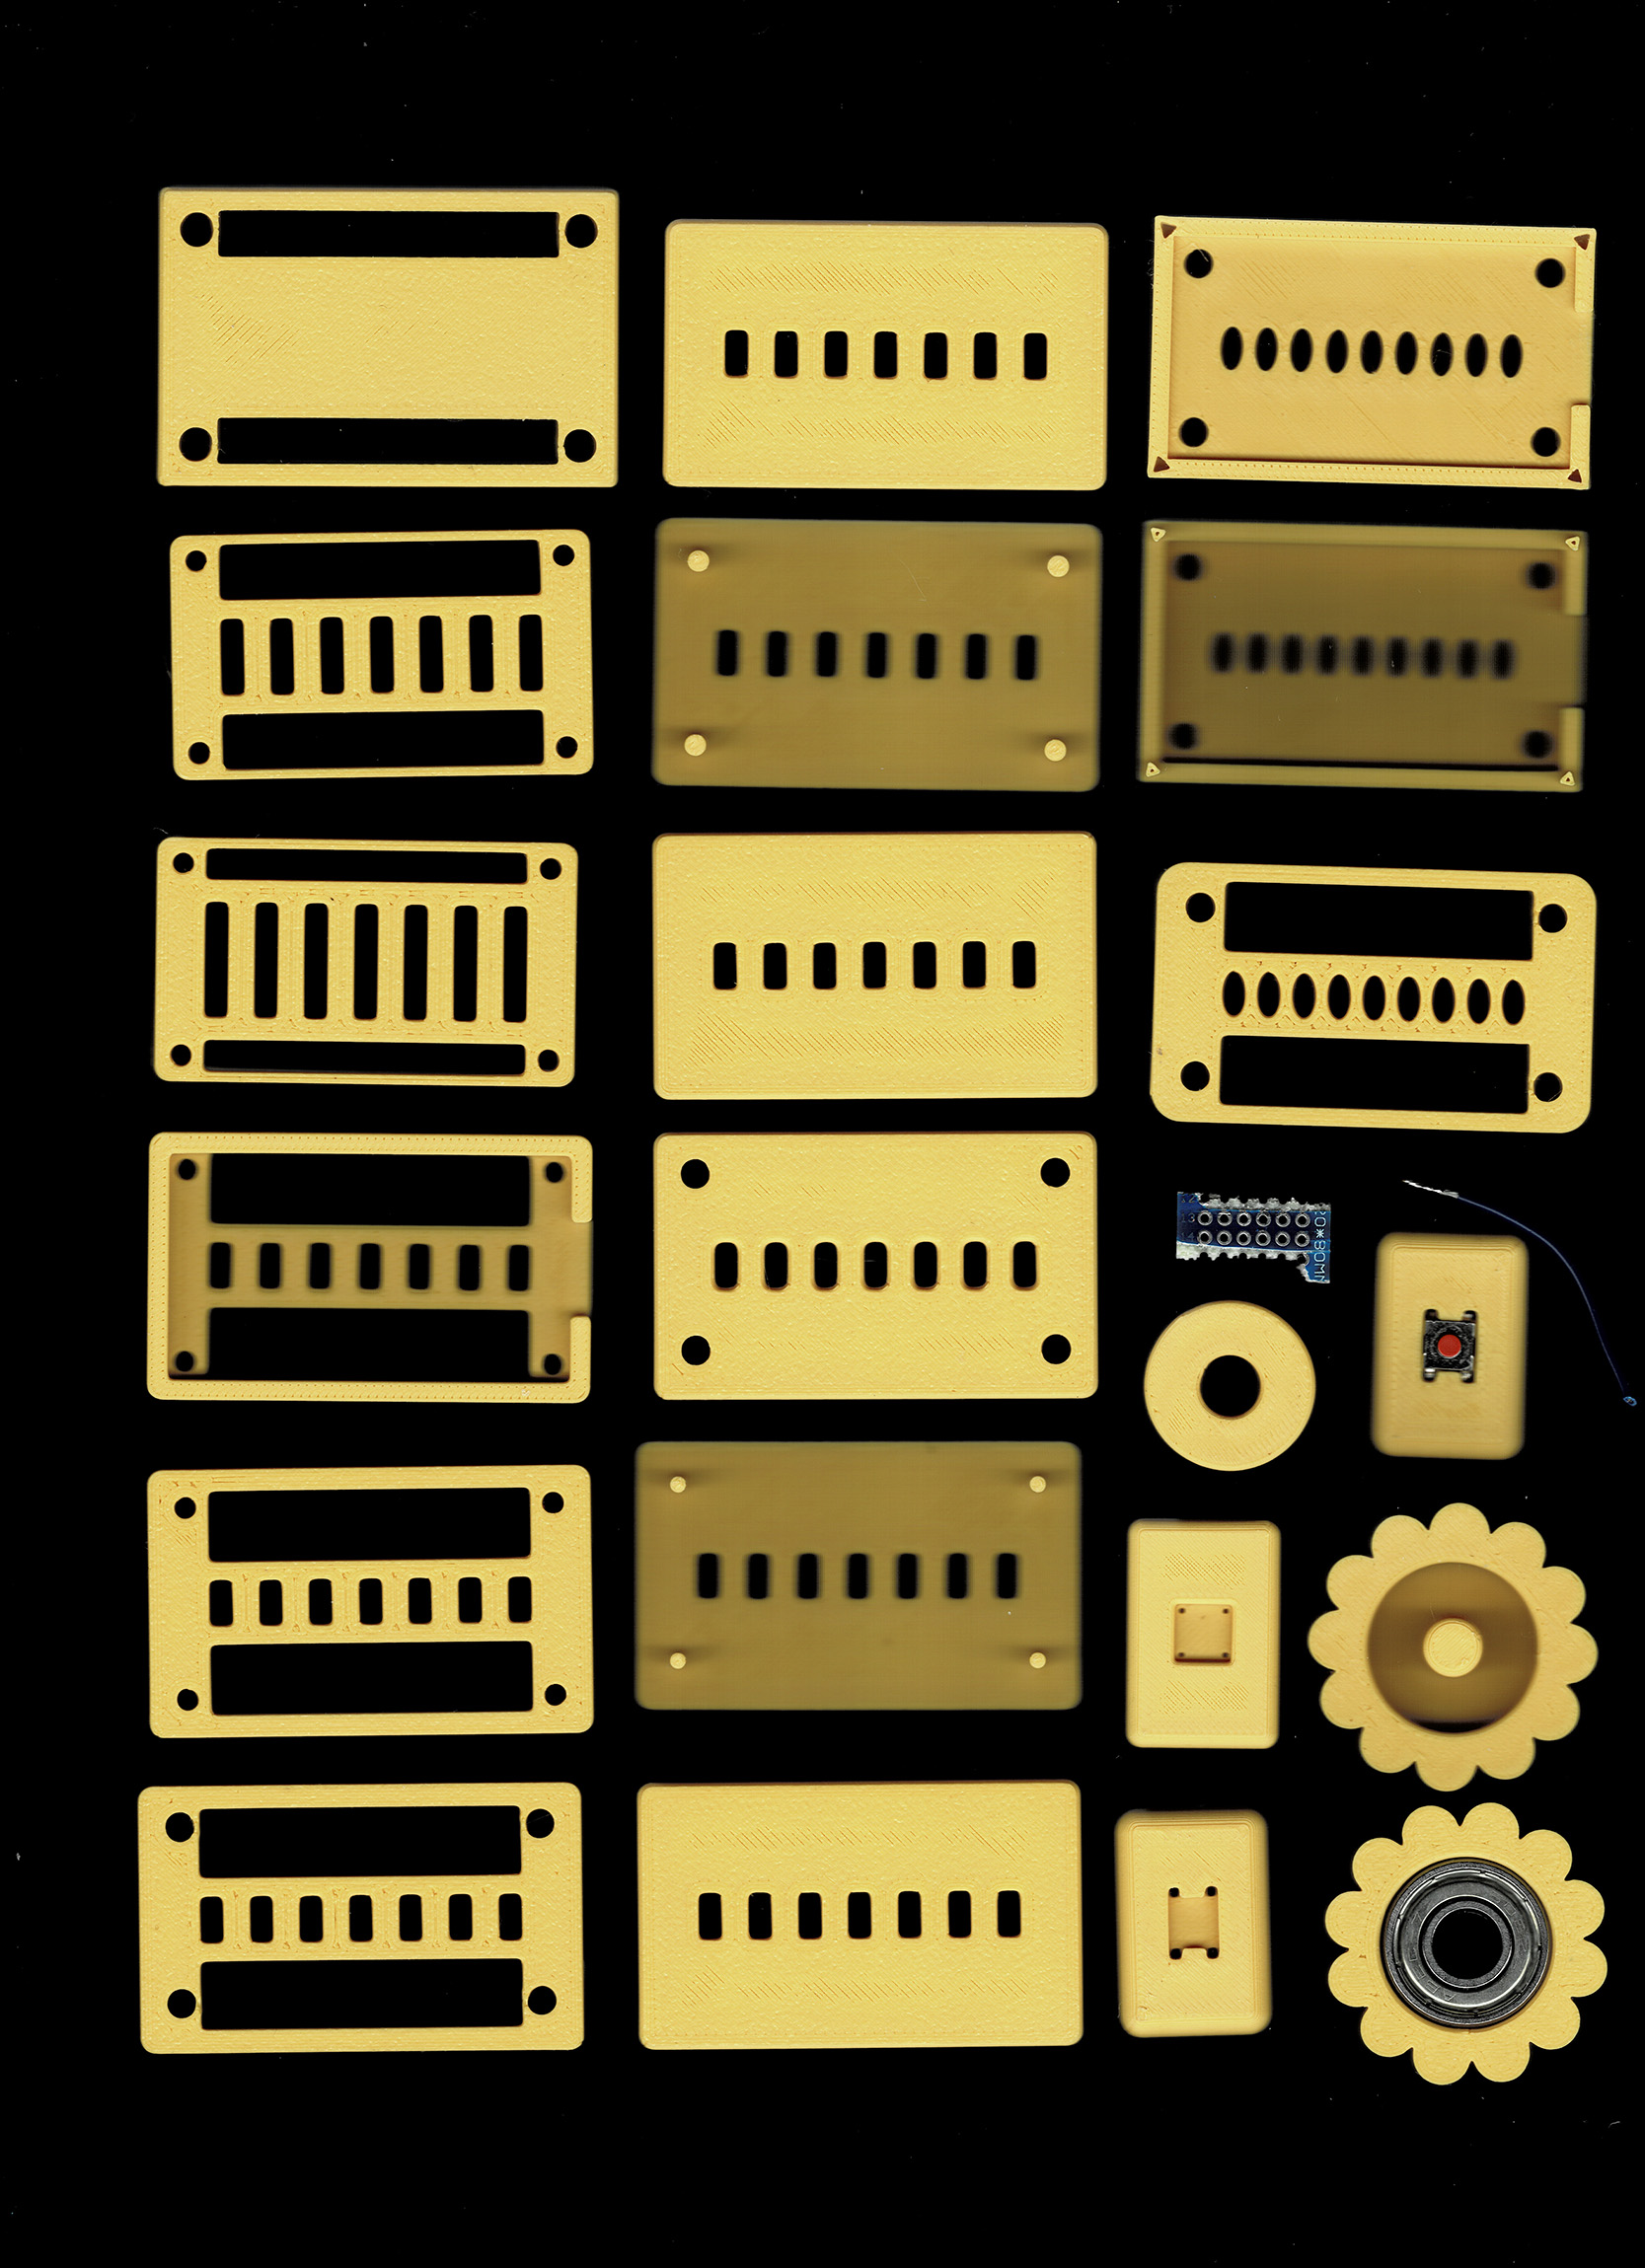
Most of the housing prototypes I've made. Flower shapes are remnants of an unused concept. I wanted to
put the INMP441 mic module inside the flower shape with a bearing and have it spin, but didn't think of
the wires getting tangled in the process. Lol.
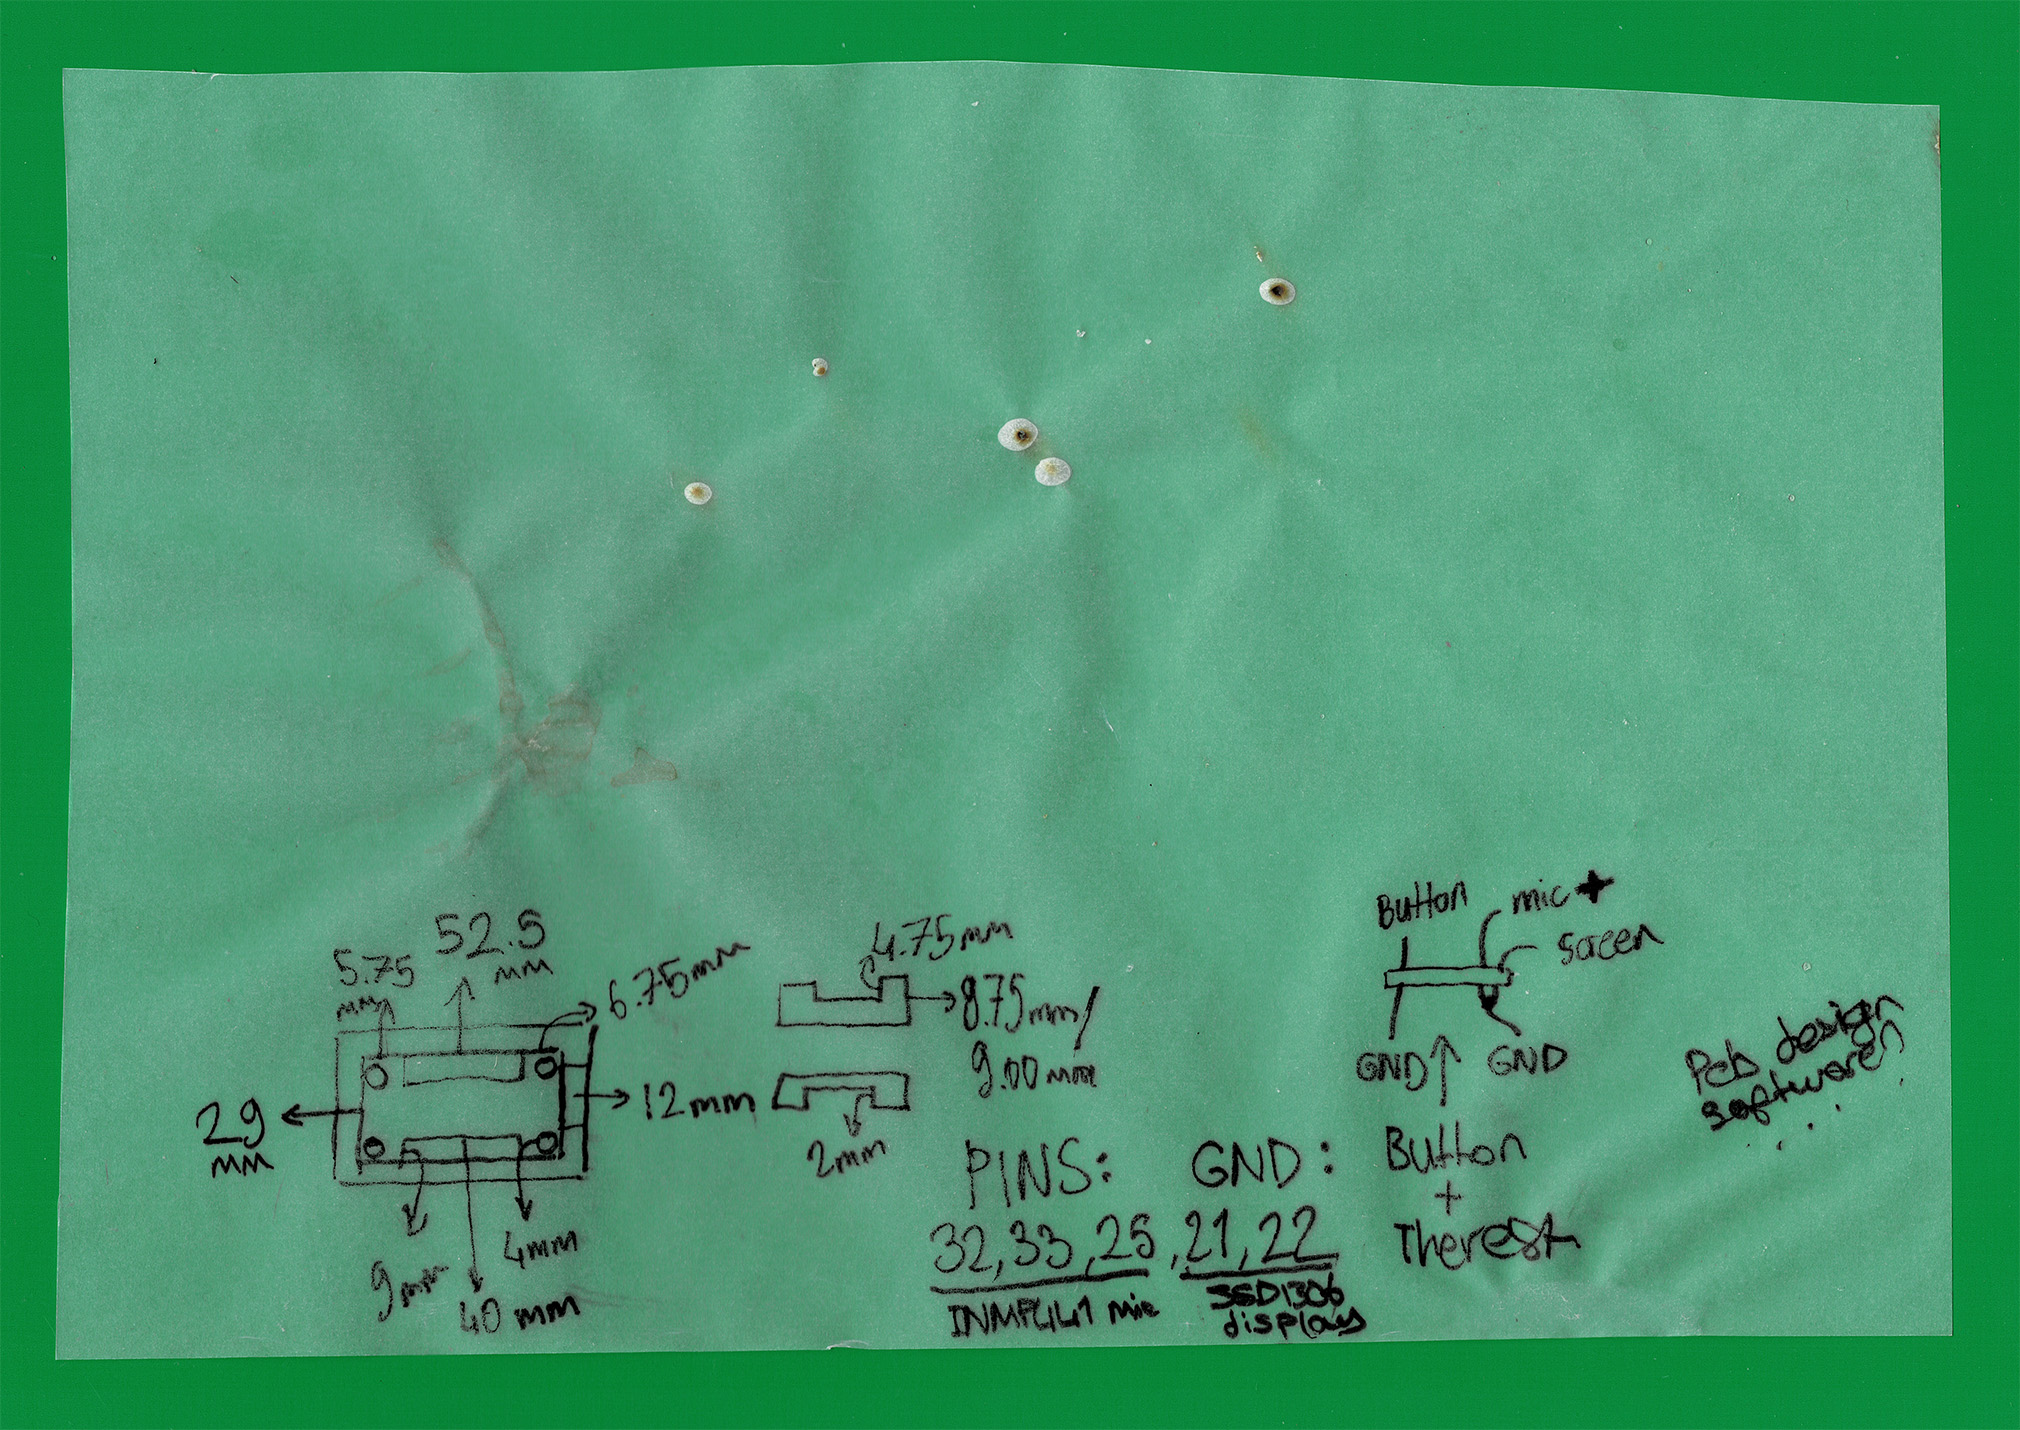
Sketches I made during the housing design & assembly process.