In the second iteration of my project, I pick up from where I left off last time, and continue building on
the ideas that I generated through the research activities we were provided. In my first project, I
explored the idea of creating a product that embodied the emerging “Renaissance of the Real” concept, with
the possibility of tapping into the the e-ink display trend as a way of supporting the core theme. My
chosen WGSN trend strongly influenced the prototyping process, and put display module interaction at the
centre of my action research.
END OF SECTION
WEEK 8 & WEEK 9
The last two bullet points in the following section from Week 8 lecture content drove home the point of
low-fidelity prototyping for me. Third point helped me adjust my restrained/conservative attitude towards
prototyping, and shift to a more adventurous mindset. It also did a good job in getting across the point
that component failure does not equal project failure. Fourth bullet point played a different but as
crucial a role. It helped me start the prototyping process in a way that embraced and valued the moments
of uncertainty, instead of gravitating towards the easy and familiar.
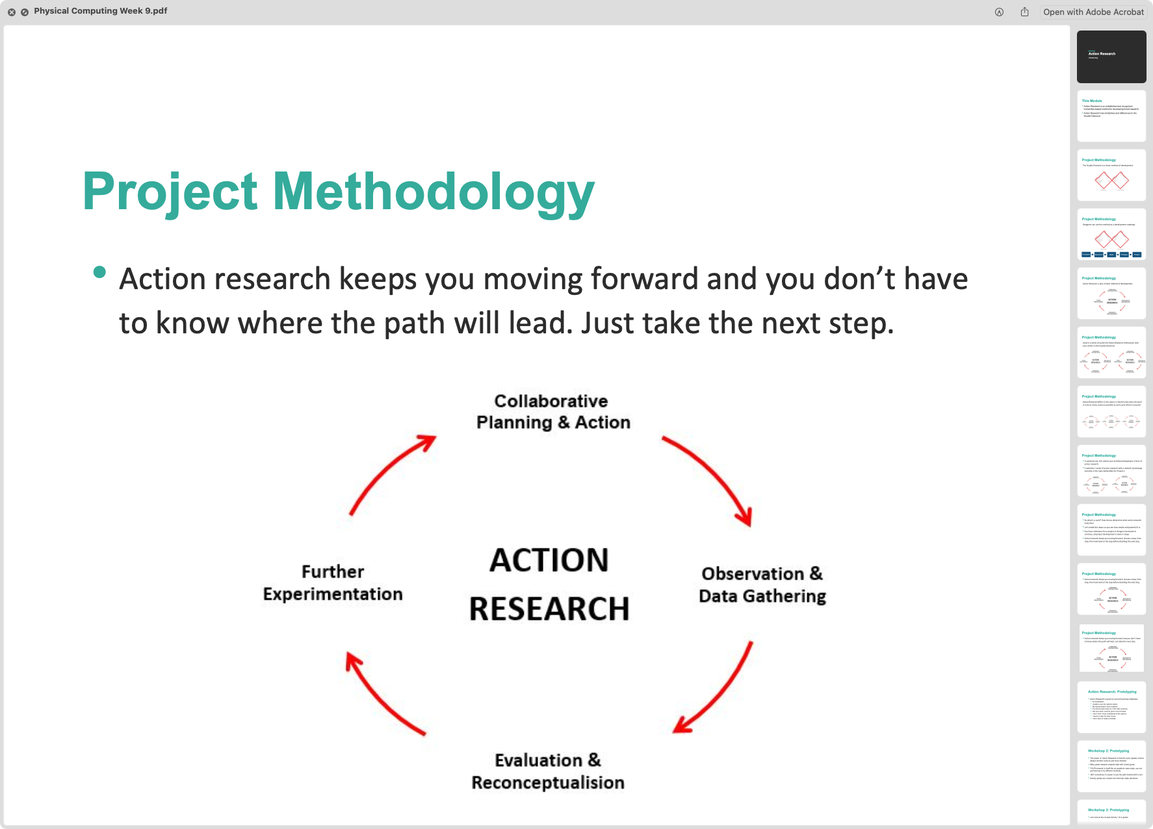
The action research diagram made it easier to understand the meaning behind the action research
methodology, and stacking three of them side by side worked very well for me. During this lecture, seeing
these stacked diagrams helped me to visualize how my action research process might go, and boosted my
confidence by clearing some uncertainties.
END OF SECTION
Helping people for my own benefit >:-)
Since the start of this semester, I’ve been helping classmates with their System Design and Physical
Computing projects fairly frequently. Both of these classes require a certain baseline of DIY ethic if a
person wants to thrive in them. Otherwise, the content may feel dense, intimidating, and inaccessible. Of
all the subjects this program has introduced me to, physical computing and systems design might be the
most satisfying ones for me, and I want to try and make them a meaningful part of my job. Which is why I
jump on every opportunity to help people with their work. When I am helping classmates, 60% of my time is
spent learning the thing with them, and the other 40% goes to teaching them how to find the information
they are looking for (documentation, datasheets, tutorials, model numbers, etc).
Doing this regularly, I’ve learned how to use different sensors that I wouldn’t have come across, and got
a lot more proficient at reading, writing, and debugging code in C. Plus, it feels really nice to help
someone solve a problem and watch them get more confident in their own abilities.
END OF SECTION
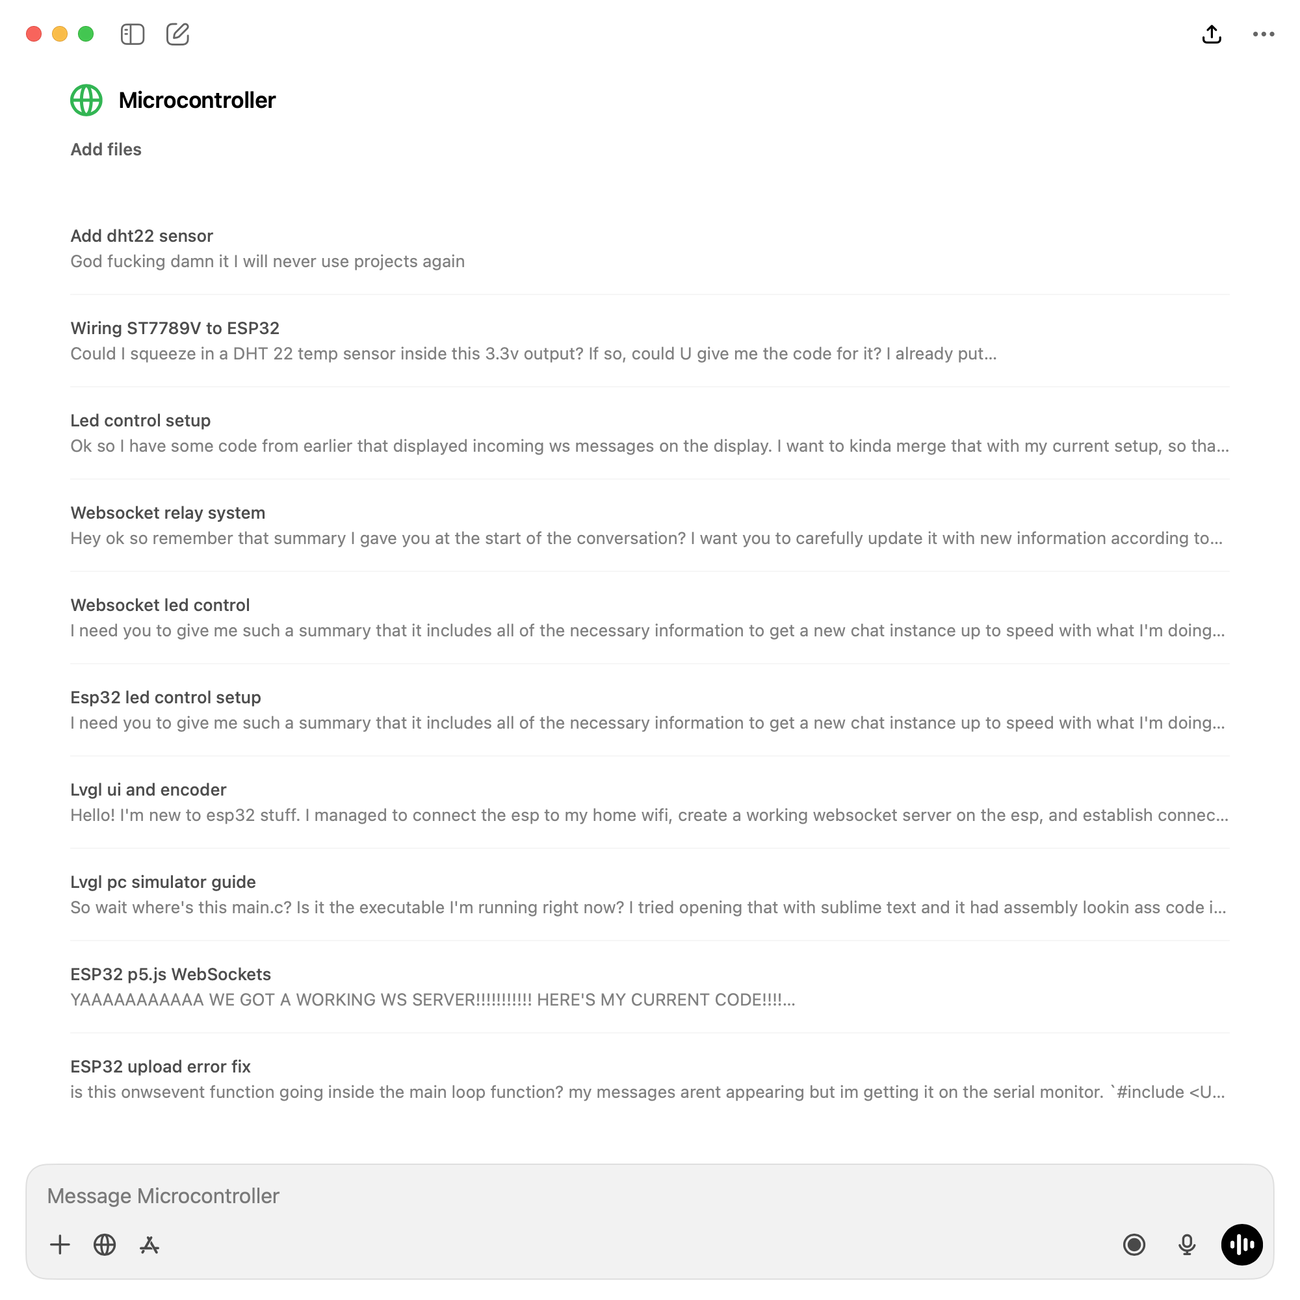
I use LLMs to assist my learning in all sorts of subjects, but I find it the most useful when I want to
learn about any kind of system by just chatting. For my System Design class, I’ve had hours of
conversations with LLMs in order to grasp the difference between RESTful APIs and others. Similarly in
Physical Computing, LLMs have played a crucial role in helping me understand the different methods
communication microcontrollers use, and the limits/advantages of each. LLMs are the number one tool in my
arsenal when it comes to figuring out the outlines of a completely unfamiliar subject and building a rough
concept in my head.
However, I find that they still suck at actually searching for specific information on the internet beyond
serial numbers, so I still do a lot of manual research. I do my own writing as well, which is why this
document is so hard to get through.
END OF SECTION
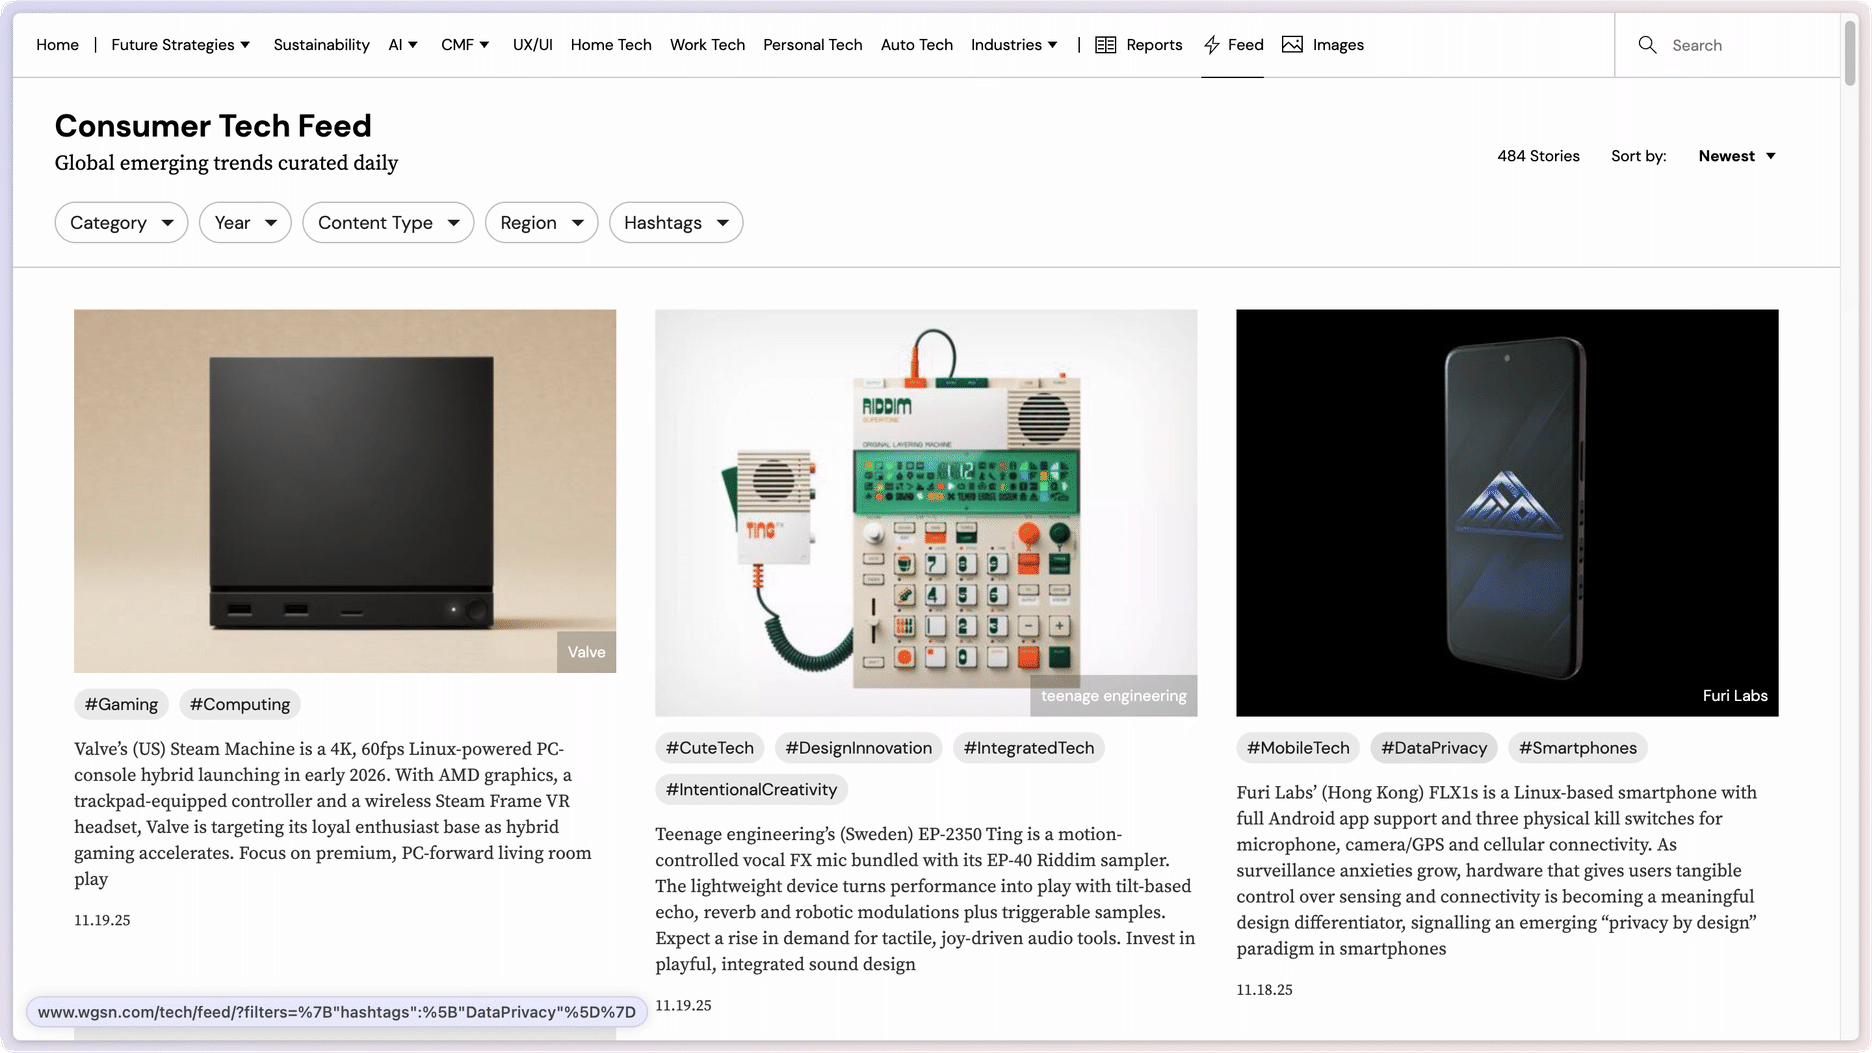
WGSN’s consumer tech section is one of the sites I frequent while doing research on product and component
trends. This page helped me think through the specifics of my prototype (see next slide), as it is an
excellent place to browse to get a feel for a certain industry or a customer base. The diversity of
research subjects is a major aspect that keeps me coming back.
END OF SECTION
I used the workshop activity as an opportunity to get more comfortable in rapid prototyping. My cardboard
prototype resembled all the other phone holder forms on the market, which wasn’t so exciting. However, as
I was taking pictures of the finished phone holder, it got overwhelmed by the weight of my phone and fell
on the floor. It was really exciting to witness, because it meant that, even a simple design such as this
has a lot of room for improvement. You can see my proposed improvements to the original design below.
END OF SECTION
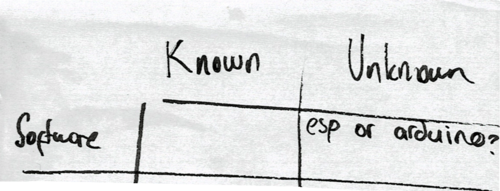
Potential challenges:
ESP32 is new to me. Even something as simple as setting up a comfortable dev environment could feel challenging at first. Haven't heard good things about the learning curve of display modules either.
Exploring unknowns:
Will I have to use a different IDE to communicate with my ESP, and will I be able to get the display
module working?
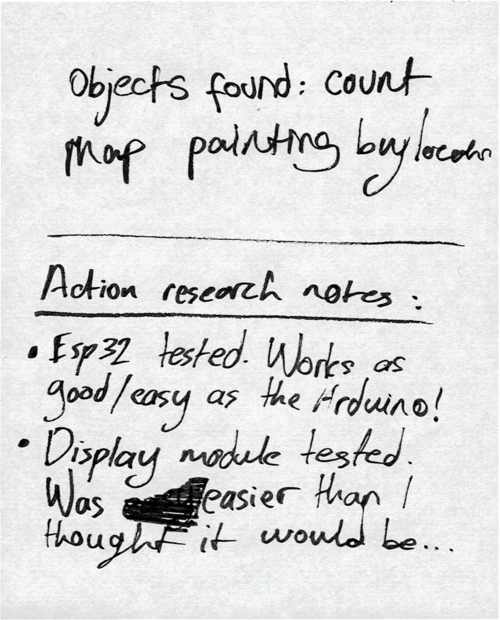
Process and outcome:
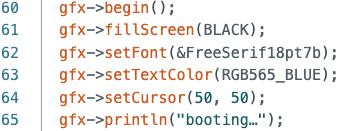
Arduino IDE worked perfectly fine with ESP32. The display module was also very straightforward to
connect with a proper pinout guide, though I did struggle a little bit printing my first line of
text. Just me being a dummy with my syntax, not because it was a hard task.

Lessons learned:
Micro-controller communication systems are a bit easier to understand than I expected. I thought
switching to ESP would be much harder. I also learned a bit about display graphics libraries,
which made me realize just manual everything is in that realm. You have to specify every single
detail in code to make something as simple as a single letter appear. Font size, cursor placement,
even the screen refreshes are done manually.
Next up:
I will have to find out if I can set up a reliable internet connection for my ESP.
END OF SECTION
Potential challenges:
Managing the sequence of connections could get difficult. Latency could become a problem. Concerned
about potential hotspot connection issues.
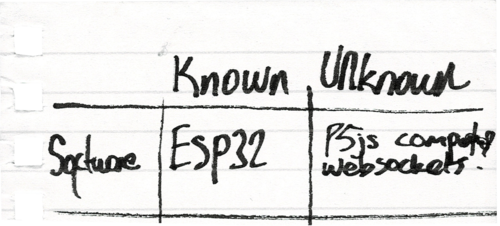
Exploring unknowns:
I had no idea what websockets were up until a couple weeks ago. It sounded like ws could function as
the fundamental protocol within my cross-device communication network.
Process and outcome:
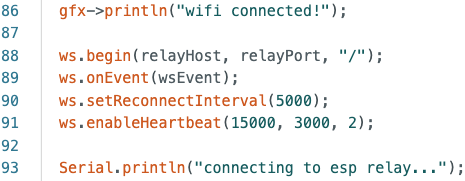
Getting the ESP32 to connect to my home wi-fi was easy! It's just a library + a few lines of code,
and the chip does its job. I'm happy to report that the hotspot wi-fi connection was just as easy.
iPhone has a "compatibility mode" setting, which I think made it possible for my ESP to connect with
no issues. I went out to test my connection, and got some frozen food in the process.
An important part of this process was getting the connection sequence right. WS server can only be a
thing if the ESP is already connected to the wi-fi:
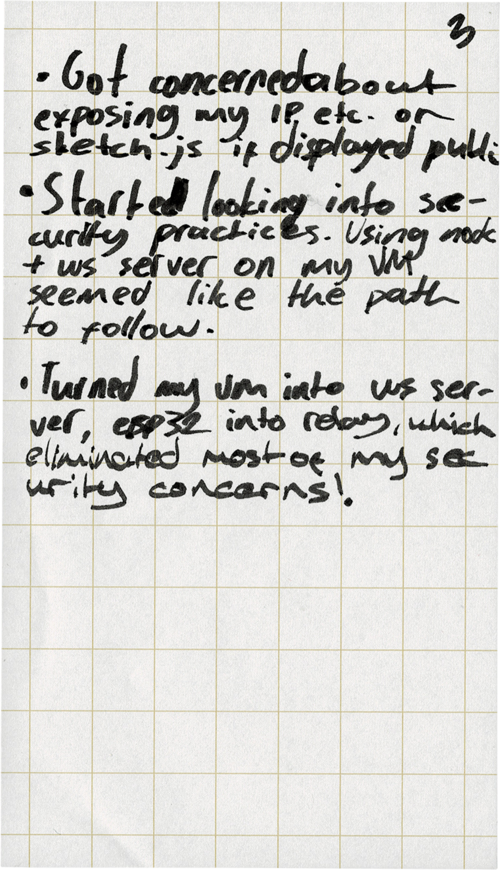
Another serious factor was security. If I intend to make a consumer utility IoT device, then I have
to take network security very seriously.
I read up on the fundamentals of network
and server communication security, which added on top of the previous knowledge I gained working on
my System Design class project. I set up a node layer on my virtual machine (hosted on a cheap
DigitalOcean Droplet) to act as the relay between the P5.js GUI and the ESP32:
This way I ensure that I'm not exposing any private information (in this case, my IP addresses).
At this point, it was incredibly simple setting up the P5.js <-> ESP32 connection because I had the
base ready to toss data around.
Lessons learned:
Realized I don't even need P5.js while vanilla JS is right here in my browser. Watch your damn
syntax – another important lesson.
Next up:
Time to dive into hardware and components and circuits and electricity and...
END OF SECTION
Potential challenges:
Could be tough to manage the dynamic power load between each running component.
Exploring unknowns:
I don't know too much about electricity, or electronics. I have to come out of the other end of this
research feeling confident in my knowledge.
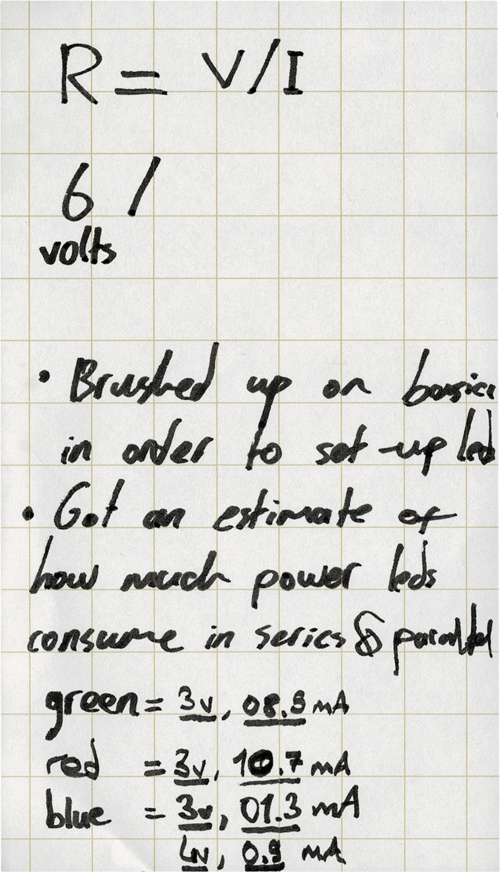
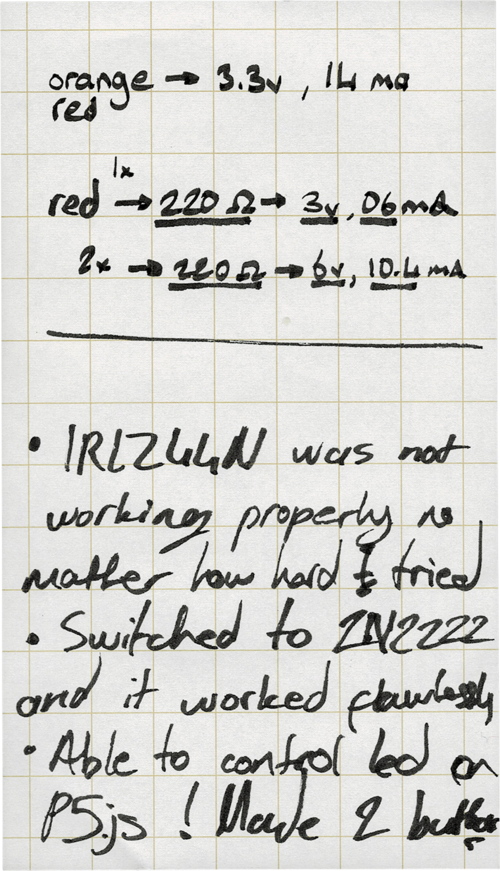
Process and outcome:
This action research step was completely about getting an intuitive understanding of electricity,
and the fundamental components that exist within any circuit. For this project, the crucial
component is the fabled transistor. As I understand it, a transistor is necessarry to build a
digital switch that is controlled by the voltage. Read some more stuff about semiconductors but I
won't go into that.
At the end of this action research step, I had a much better grasp of big E electricity. I no longer
feared for the well being of my kit, and I had an idea of the power needs of the circuit. This point
on, no more fried components. Time to put everything together.
Lessons learned:
I learned about different mosfet switching techniques (low/high side), the relationship between
current and resistance, the power consumption habits of each different component in my circuit,
and trusting the component that's just enough for the job.
I love you 2N2222.
Next up:
It's a secret... See U on the next project...
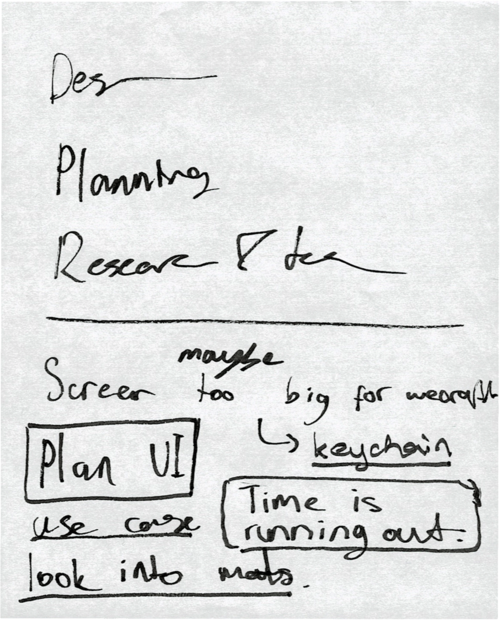
Fine. It's the concept, UI/UX, and case design.
END OF SECTION
Where I'm at
I started by switching from Arduino to ESP32, and connecting a display module. Then, I set up the wi-fi
connection for both home and hotspot networks, and started looking at communication protocols. I decided
on using websockets, and began building the backend. I used my virtual machine as the relay node to
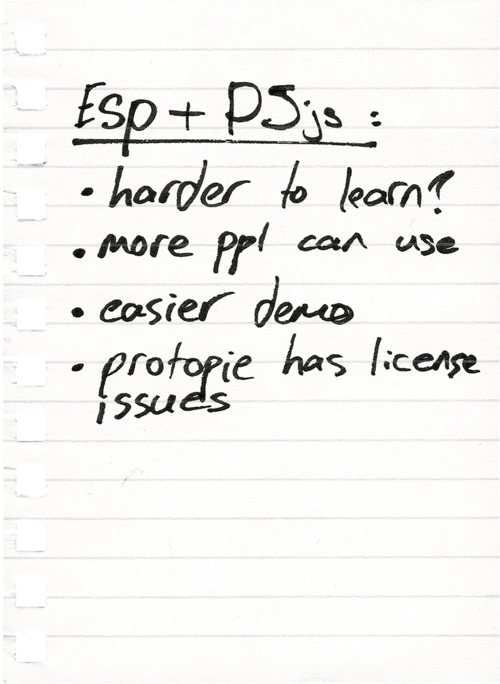
enable safe ws communication between the ESP32 and other entities. I switched to p5js from ProtoPie to
make the GUI more accessible. Currently, I have an internet enabled device that displays sensor
information, and acts on ws payloads sent from the web. I demonstrate this by tapping on my webpage,
which toggles the blue led on and off by sending a ws payload on each event. This project was a
necessarry part of building a utility product comparable to a smartphone function. Now that I have the
required backend systems, it's time to focus on the final concept and design.
Timeline
Displays "booting" text.
Connects to the wi-fi network.
Using wi-fi, the device establishes connection with the relay server.
The prototype notifies the user after each completed step by displaying text on the screen.
After the connections are made, the device stands by for a payload while displaying the temnperature
and humidity information generated by the DHT sensor.
When a user clicks or taps anywhere on the screen, a blue_on/off ws payload is sent to the relay
server and redirected to the ESP, which makes the blue led react.
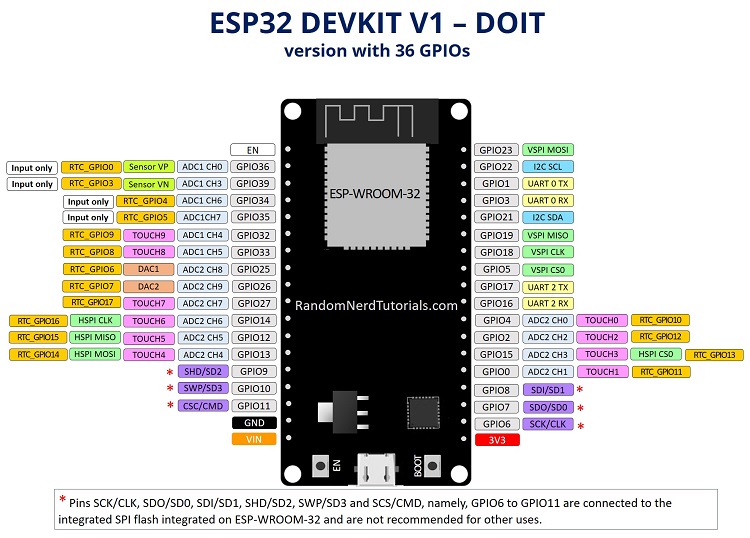
There are tens of different ESP boards, but mine is closest to this one
This is the first display I wanted to test, but I realized (very late) that it did not have the IO
installed. Had to switch to my current LED display.